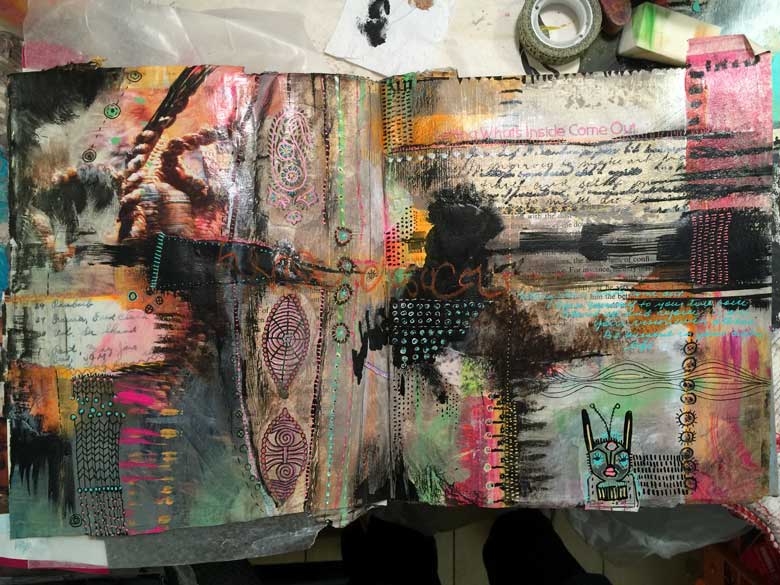
The slideshow above chronicles a few of the steps in creating this completed art journal page. (I get so focused that stopping to take progress photos can be somewhat challenging for me…)
Although I do tend to work in pristine, store-bought journals, I began this particular journal with a book from the “Free Rack” at the local library. In other words, you don’t need to spend money buying a fancy $20 journal. If you just want to start somewhere and have fun, which is after all what Art Journaling is all about, then you can certainly feel free to repurpose. It’s all about finding a place to play, experiment and LET GO after all!!!
To get started:
– A book or journal to alter
– Wax paper
(to protect other pages from getting goopy and to stop wet pages from sticking together)
– Acrylic paint
(various colors, black and white)
– A few paint brushes
– Matte gel medium/Matte medium
(what you use for adhesive)
– Visual scraps: magazine images, found pieces of paper, photocopies of imagery you are drawn to
– Scissors
– Acrylic matte varnish
– Oil pastels optional
(black & white, and maybe 2-3 other colors)
– Mark making tools: Pens, gel pens, or any other mark making tools.
Step 1.
Find an interesting spread in the used book. Glue 3 to 6 fairly large pieces of scrap/ephemera into the book using gel medium or matte medium. Once the pieces are in position, squeeze out any air bubbles by using a credit card or Bondo tool. This will also remove excess adhesive.
Step 2.
Add 2-3 blocks of color to tie things together. Use a muted palette. Color WILL come later. Keep it loose, and add different kinds of strokes and textures with your fingers, brushes and other mark making tools you might have.
Step 3. (This is the step that’s missing from my photos)
Add several smaller pieces of ephemera with little pops of color or texture, and make sure they tie in somehow.
Step 4.
Apply black blobs, patterns and blocking (these areas will later be filled with gel pen textures and markings). You can also do the same with white after the black is done.
Step 5.
Vanish with matte liquid varnish and allow to dry completely. Then add all the finishing touches with gel pens, permanent markers and the like. And Voila, you have a finished spread! Now on to the next one…


Leslie Gunn liked this on Facebook.
Erna Price liked this on Facebook.
Shelley Walter liked this on Facebook.
I look forward to following your journey with art journaling. This spread is gorgeous.
Bill Kobasz liked this on Facebook.